AN INSTAGRAM TRANSCRIPT GENERATOR FIELD NOTE
Instagram Transcript Generator: Original Audio or Added Voiceover?
Use the track containing your intended voiceover. Open the tool, click “Choose an audio or video file,” upload the voiceover file, choose its spoken language under “Audio language,” then click “Generate transcript.” Check the first generated line against that voiceover.
If needed, select the voiceover in your editor before preparing its upload file.
Choose the speech source before you choose the caption style. The cleanest-looking captions can still be a polished transcript of the wrong track.
Start with the input you actually have
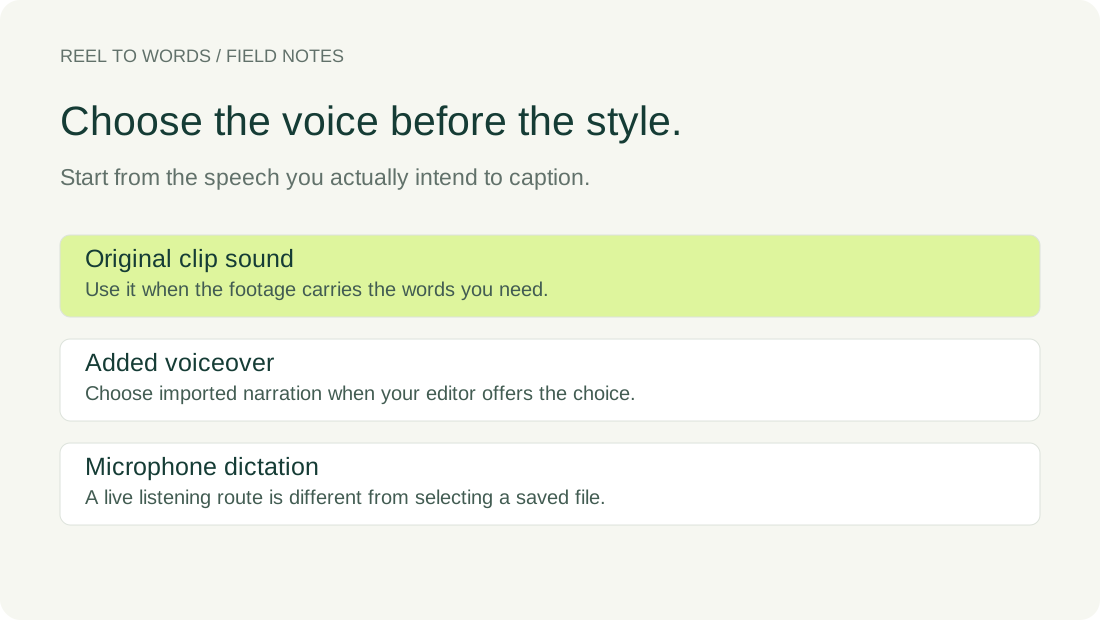
An Instagram transcript generator can sit inside an editing workflow or accept a recording as a file. Decide whether you need the footage's existing speech, a separately added narration, or words captured through a microphone.
| Your starting point | Input decision | Next action |
|---|---|---|
| A saved recording | Choose the audio or video file | Select its spoken language, then transcribe |
| Footage with an added voiceover | Choose the narration rather than the original sound, if offered | Generate captions from the selected source |
| Microphone dictation | Use a working microphone | Start voice typing and review the captured words |
When the narration was added later
When an added voiceover carries the message, start the caption workflow from that voiceover rather than the footage underneath it. This matters while the original clip and the narration are separate items in your editing project.
Look for a choice between the clip's sound and imported audio before generating captions. Where that choice is available, select the track containing the speech you intend to caption, then generate the words and move on to their appearance.
This is an input-selection rule, not a promise that every editor exposes the same buttons. Meta's Edits documentation confirms its editing and caption features; the available controls should be checked in the editor you are using.
When the input is a microphone
A microphone is an input route, not a substitute name for a file upload. Google Docs' voice-typing instructions require a working microphone and use the document's Tools → Voice typing control.
- Open a document and choose Tools → Voice typing.
- Click the microphone when you are ready to speak.
- Stop it when finished, then correct the captured words and punctuation.
Those actions describe dictation, even if a recording is playing nearby. Do not confuse a live listening session with selecting a saved media file for processing.
What a file-based workflow changes
For a saved recording, the file is the starting point. Riverside's speech-to-text workflow asks for an audio file and its spoken language before transcription and download.
In Clipchamp's autocaptions workflow, import the media, add it to the timeline, open captions, choose the recognition language and transcribe. Review the editable words before changing their font or appearance.
Recognition language and caption appearance are separate decisions. A font change does not select a different audio source.
Keep export quality out of the audio decision
Clipchamp's current free-plan specification includes watermark-free exports up to 1080p. That verifies an export option, not which speech has been selected.
A sharp 1080p export answers a picture-quality question, not the question of which voice was transcribed. Avoid treating an attractive finished frame as proof that the input was right.
The check to make before styling
Before restyling a single word, compare the first generated line with the first line of the narration you meant to capture. If the words follow the background clip instead of your narration, return to the audio selection before adjusting the text style.
This is the practical decision rule: identify the intended speech, choose its input route, and only then work on how the words look. It keeps an audio-choice problem from turning into a long round of unnecessary text decoration.